


Hot spots are shiny/sweaty areas on a subject’s face which are caused by a flash reflecting off a shiny surface or by uneven lighting. It tends to make the subject look as if they are sweating, which is not a good look. There are nearly always more that one way to fix problems like this in Photoshop but here I’ll show you how to do it using the clone tool and some blending modes.
1. Open up the photograph with the shiny hot spots that you want to fix. I’m using a picture of Stella McCartney that looks like it was taken in a red carpet situation and she’s looking a little shiny on the forehead and nose.

2. Select the Clone Stamp Tool (S) from the toolbox. In the Options Bar at the top of the screen, choose a large, soft-edged brush and set the Mode to Darken and lower the Opacity to about 50%.
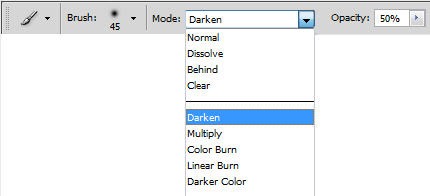
The idea behind setting the mode to Darken is that the only pixels that will change are the ones that are lighter than our sample area. The hot spots are essentially light colored pixels.
3. On your subject’s face, choose an area of “clean” or non-hot spot skin. This will be the reference point and Photoshop will now only change pixels that are lighter than this. Hold down the Alt (Windows) or Option (Mac) key and click to set the reference point. The cursor will change to an eye-dropper.
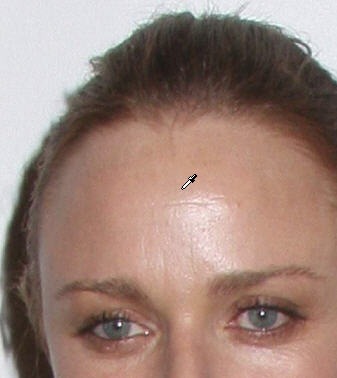
4. Start to paint over the hot spots with the Clone Stamp tool. The hot spots will fade but it will still look like natural skin. You’ll find that you need to resample several times in order to correctly match the skin tones. Just Alt/Option click every time you want to resample and start to paint again.
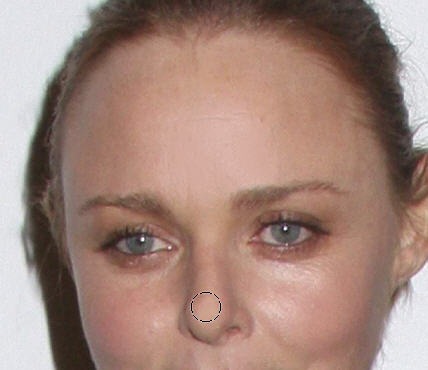
If the effect is too much, you can also reduce down the Opacity of the Clone Stamp Tool a little further to about 45 – 40%. Be especially careful on the skin under the eyes. You don’t want to replace hot spots with dark bags! Work around your image until you’ve removed all of the hot spots. Below you can see Before, on the left, and After.


So with a couple of seconds of retouching with the Clone Stamp Tool and the right blending mode you can quickly and easily do a makeover and remove the sweaty, shiny look.


